
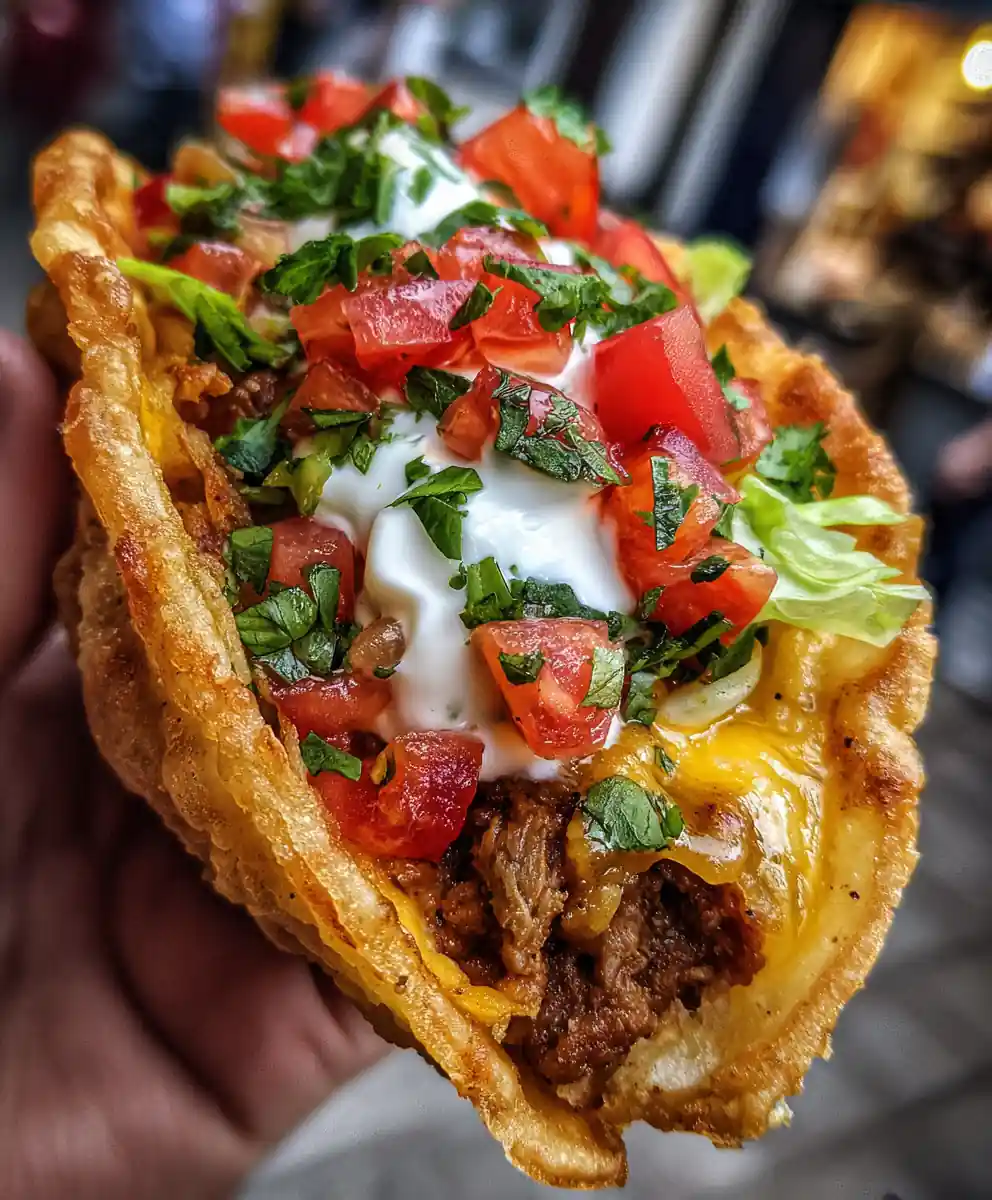
Discover an exciting culinary mash-up with these Crispy Pierogi Taco Shells! This recipe transforms humble frozen pierogies into surprisingly sturdy, golden-brown ‘taco shells,’ offering a delightful textural contrast to a classic seasoned ground meat or lentil filling, all crowned with your favorite fresh taco toppings. It’s an innovative, easy-to-make dish that brings together two beloved comfort foods in one satisfying bite.
Ingredients
- 12 frozen pierogies, your favorite variety (e.g., potato & cheese, sauerkraut & mushroom)
- 1 lb (450g) lean ground beef or turkey, or 1 cup (180g) dry red or brown lentils for a vegetarian option
- 2 tablespoons (30g) taco seasoning blend
- 1 cup (100g) shredded cheese, such as sharp cheddar, Monterey Jack, or a zesty taco blend
- 2 tablespoons (30ml) olive oil or unsalted butter, divided
- ½ cup (120ml) water (for filling)
- Toppings Galore: Fresh salsa, crisp shredded iceberg lettuce, finely diced ripe tomatoes, a dollop of creamy sour cream or plain Greek yogurt, and a sprinkle of fresh cilantro, roughly chopped
Instructions
- Cook the Pierogies to Tender Perfection: Begin by preparing your chosen frozen pierogies. Boil them according to package directions for 5-7 minutes until they are tender and float, pan-fry for 8-10 minutes until golden, or air-fry for an extra crispy exterior. The key is to ensure they are fully cooked through but still pliable for the next step.
- Forge the Crispy ‘Taco Shell’: If you opted to boil your pierogies, gently pat them very dry with a paper towel. Heat 1 tablespoon of olive oil or butter in a large, sturdy non-stick skillet over medium-high heat until shimmering. Carefully place the cooked pierogies in the hot pan, ensuring a little space surrounds each one. Using a firm, wide spatula, gently but decisively press down on each pierogi to flatten it slightly into a wider, more stable base, aiming for about ⅓ to ½ inch thickness. Cook for 2-3 minutes per side, watching closely until they develop a beautifully golden-brown, crispy crust. This forms your unique pierogi ‘shell.’
- Craft the Savory Filling: While your pierogies are crisping up, brown your ground meat in a separate pan over medium heat, breaking it apart with a spoon until no pink remains, about 5-7 minutes. If using lentils, cook them according to package directions until tender, then drain any excess liquid. For ground meat, drain any excess fat. Stir in the taco seasoning and about ¼ cup (60ml) of water, ensuring the seasoning coats everything evenly. Bring to a gentle simmer for 5-7 minutes, stirring occasionally, allowing the flavors to meld and the mixture to thicken slightly.
- Assemble Your Unique Pierogi Taco Shells: Once the pierogies are perfectly golden and ready, carefully transfer them from the skillet to a serving platter. Spoon a generous amount of the hot, seasoned filling directly into the center of each flattened, crispy pierogi. Immediately sprinkle with your shredded cheese, letting the residual warmth of the filling begin to melt it into a deliciously gooey layer.
- Adorn with Your Favorite Toppings: Now comes the most enjoyable part – customizing your pierogi tacos! Load them up with vibrant, fresh salsa for a burst of flavor, crisp shredded lettuce for texture, juicy diced tomatoes, a cooling dollop of creamy sour cream or healthy Greek yogurt, and a final sprinkle of aromatic fresh cilantro. Serve immediately and enjoy your innovative fusion creation!
Chef’s Insight
This recipe is all about embracing creativity and having fun in the kitchen. The magic truly happens when you press those tender pierogies into crispy ‘shells’—it’s a technique that feels a little rebellious but yields incredible results. Don’t be shy with the pressure in the skillet, and aim for a really good sear to get that satisfying crunch!
Cook’s Notes
- For maximum crispness, ensure your pierogies are patted very dry after boiling, and don’t overcrowd the pan. Cook in batches if necessary to maintain even heat.
- When pressing, use a spatula with a wide, flat surface to ensure the pierogi flattens uniformly without tearing.
- Feel free to experiment with different pierogi fillings! Potato and cheese is a classic, but mushroom or even meat-filled pierogies can add another layer of flavor.
- If making a vegetarian lentil filling, adding a splash of vegetable broth can deepen the flavor profile.
How To Serve
These Pierogi Taco Shells are best served hot and fresh, right off the skillet. Arrange them on a large platter with all the toppings laid out assembly-line style, allowing everyone to customize their own. They make a fantastic, interactive weeknight dinner, a fun party appetizer, or an exciting addition to any casual gathering. Pair with a side of extra salsa or a light, refreshing coleslaw for a complete meal.
Prep time: 12 minutes Cook time: 28 minutes Yields: 12 Pierogi Tacos
FAQs
- Can I make these ahead of time?
- While the filling can be prepared a day in advance and reheated, the pierogi shells are best made fresh. They lose their crispness quickly once cooled. You can have all your toppings prepped and ready to go to speed up assembly.
- What kind of pierogies work best?
- Potato and cheese pierogies are a classic choice and work wonderfully, but any variety you enjoy will likely be delicious. Consider sauerkraut and mushroom for a tangier twist, or even a sweet potato filled pierogi for a unique flavor.
- How do I make the pierogies extra crispy?
- For maximum crispness, ensure your pierogies are thoroughly patted dry after boiling. Cook them in a hot skillet with enough oil or butter, pressing firmly to flatten. Air-frying cooked pierogies for a few minutes before flattening can also boost crispness.
- Can I use other fillings?
- Absolutely! Get creative. Shredded chicken, pulled pork, or even a spicy black bean and corn salsa would all make excellent fillings. Adjust the seasonings to complement your chosen protein.
- What are good vegetarian/vegan alternatives for the filling?
- Beyond lentils, consider seasoned crumbled tofu, a hearty mushroom and black bean mixture, or even a spiced sweet potato and corn hash. For vegan, ensure pierogies are dairy-free and use a plant-based cheese and sour cream.
- How do I store and reheat leftovers?
- Leftover filling can be stored in an airtight container in the refrigerator for 3-4 days. Leftover pierogi shells will soften; it’s best to store them separately and crisp them up in a dry skillet or air fryer before adding reheated filling.
- Why are my pierogi shells not holding their shape?
- This usually happens if the pierogies aren’t cooked enough initially (they need to be tender), or if they’re not flattened firmly and cooked long enough to develop a sturdy, crispy crust. Ensure you’re using a large, sturdy spatula and applying good, even pressure.
[redirect_script url=”aHR0cHM6Ly9lYXN5ZGFzaHJlY2lwZXMuY29tL3BpZXJvZ2ktdGFjby1zaGVsbC1yZWNpcGUtZnVzaW9uLXN0cmVldC1mb29kLz91dG1fc291cmNlPXBpbnRlcmVzdC5jb20mdXRtX21lZGl1bT1yZWZlcnJhbA==”]
Leave a Reply